How to setup Git
Git is a type of version control software that tracks changes in your code. For example, when you edit a file, git can help you determine exactly what changed, who changed it, and why.
It’s a useful tool for collaborating with other people and lets you undo mistakes or identify bugs.
Git is not the same as GitHub. Git stores versions of your work, and lets you collaborate more easily with others. GitHub puts it all online with a friendly web interface.
1. Install Git
The first thing you need to do is install Git (opens in new window).
2. Set a username and password
Once Git is installed, you should set your user name and email address.
git config --global user.name "YOUR NAME"
git config --global user.email "YOUR EMAIL ADDRESS"
For example, git config --global user.name "Kevin Francis"
If you have a GitHub (opens in new window) account, use the same email address for both.
3. Initialise a Git repo
The first time you use Git on your prototype, you need to initialise it.
In your prototype folder, enter in the terminal:
git init
Initialising the repo creates a hidden .git folder in your project and is where it stores the internal tracking data .
4. Check Git status
You can view the current status of your project with the command:
git statusThis will show you some basic information, such as which files have recently been modified.
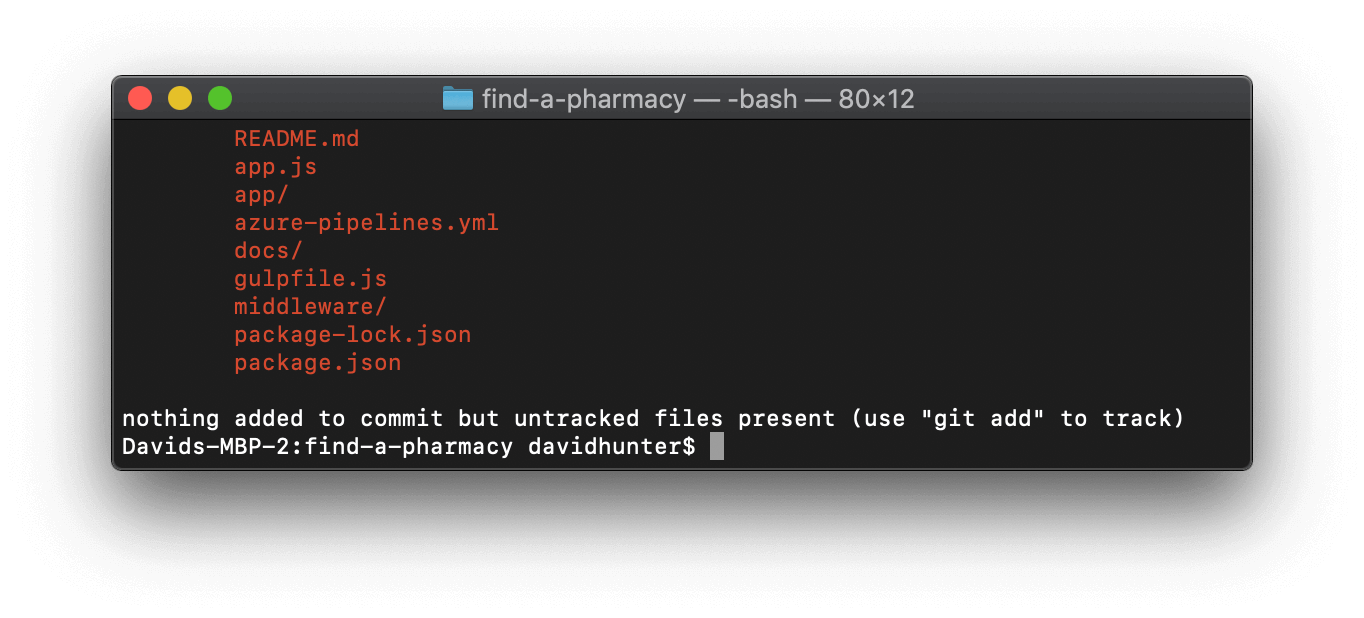
As this is a new git repo, all files in the kit will be listed as having changed.
It's a good idea to run git status anytime you’re confused. Git will give you additional information depending on what’s currently going on to help you out.
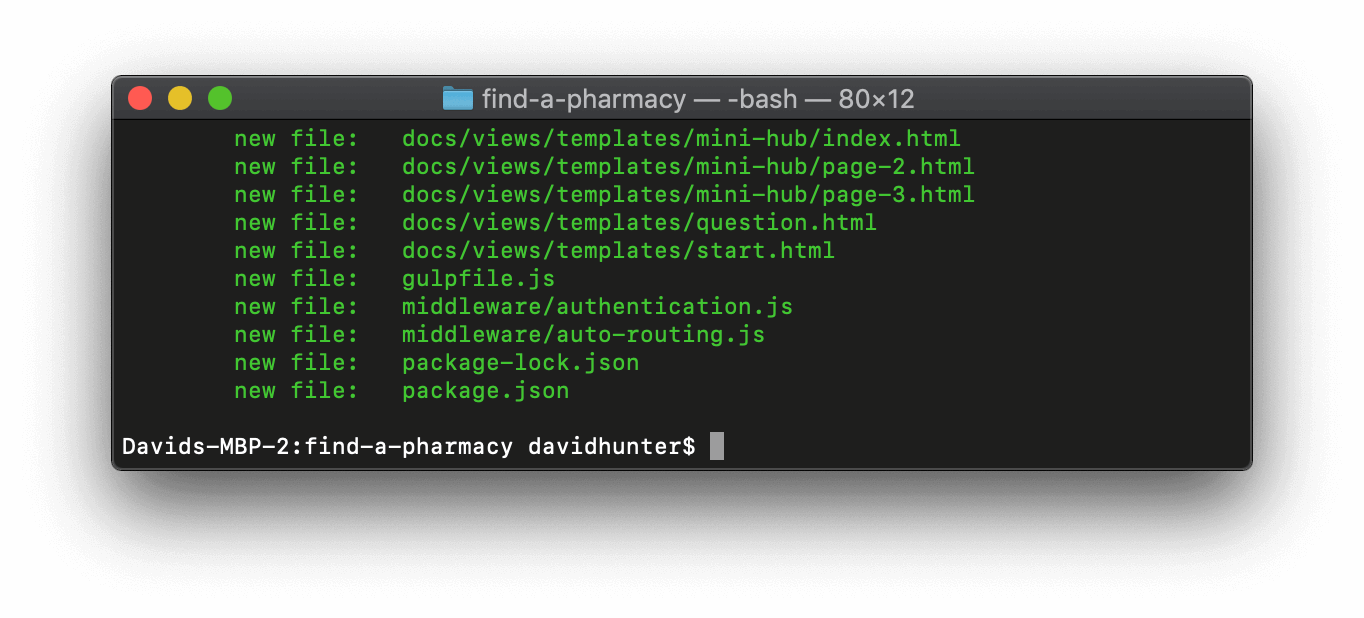
5. Doing your first commit
There are two stages of committing your changes. The first is to select the specific files with changes you want to commit, called ‘staging’. The second is to commit all the changes in ‘staging’.
Add all files that have changes by running:
git add .Check Git status
Run git status to check the files you’ve got in the stage. You will see a list of all the files just added under the heading Changes to be committed.
Commit the files in ‘staging’
Enter in the terminal:
git commit -m "First commit"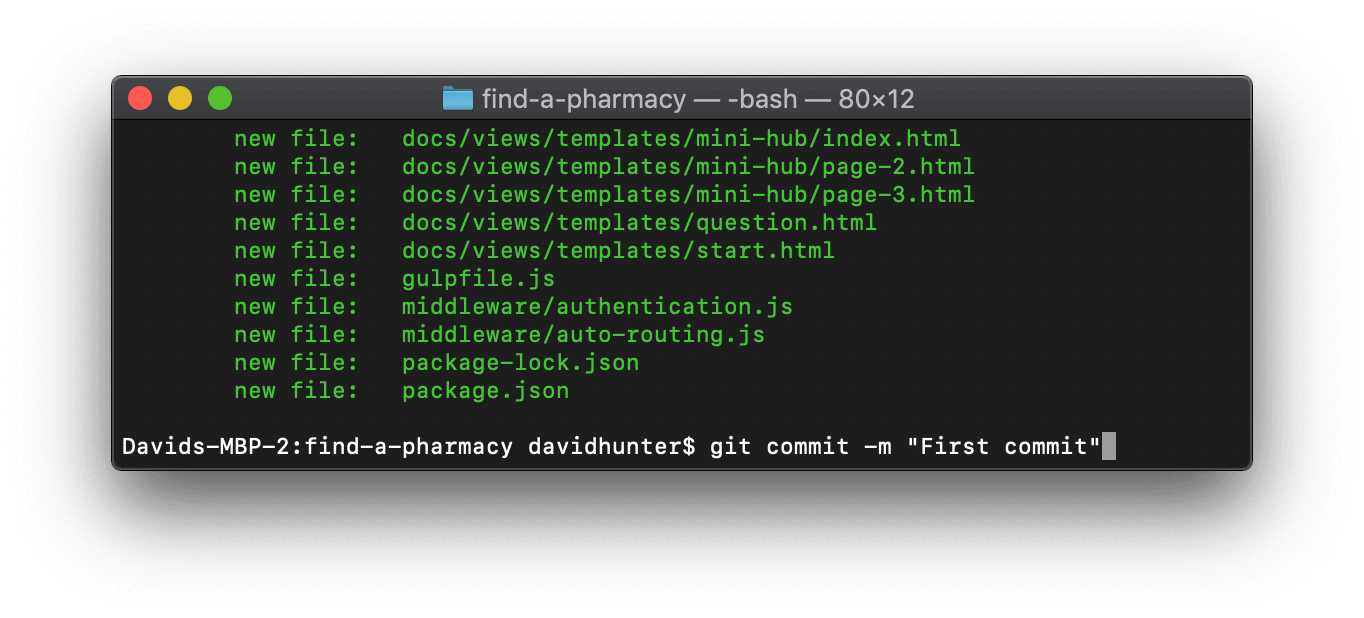
The message you put in the speech marks should be descriptive of the changes you are committing. This will help in the future if you or someone else needs to look back at your changes and know why you made them.
Github has more information on writing good commit messages.
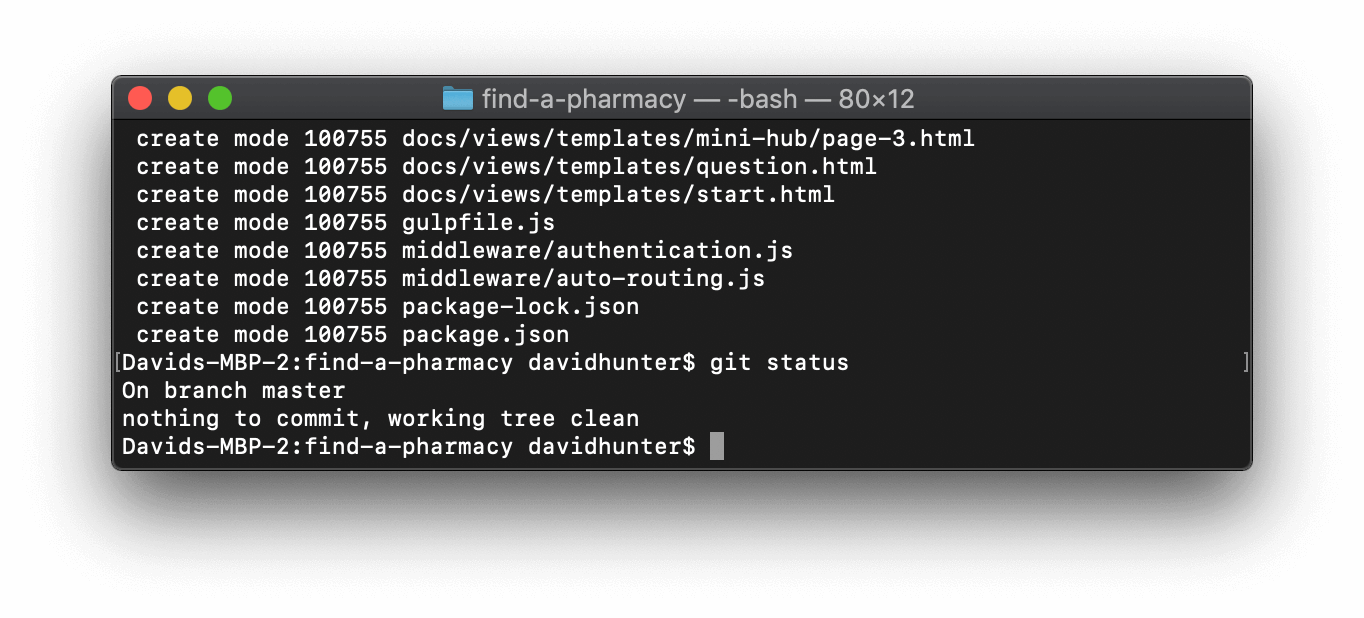
6. Check Git status again
Run git status again, and it should say Nothing to commit - all the changes you selected have been saved.
7. Learning Git
You can learn more about Git at: